Q: How do I schedule a shift?
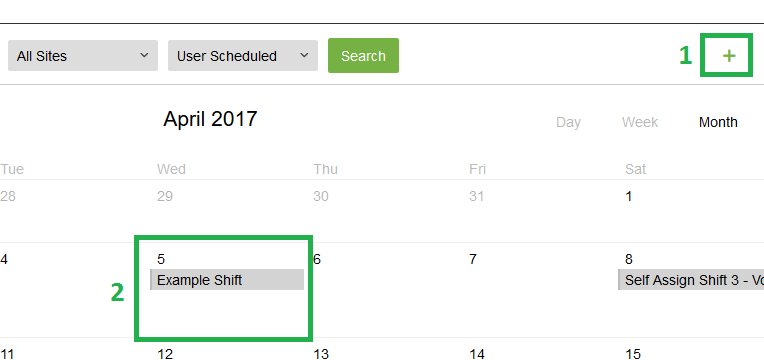
A: Visit the Scheduling section 
- Create a new shift by selecting the
 button (top right)
- Enter a Shift name (e.g. Front Desk Volunteers (Morning))
- Select the main Contact for this shift NOTE: These contacts represent Administrators and Supervisors that were previously added.
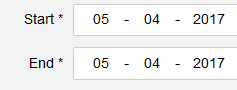
- Enter the Start Date (DD/MM/YYYY) and Time of the shift
- Enter the End Date (DD/MM/YYYY) and Time of the shift
- Select Department / Program that the shift is affiliated with
- Select the Site for the shift NOTE: This information was added via the main Organization section
- Select Positions to be filled for the shift (e.g. enter 5 beside the Front Desk Volunteer position to indicate that 5 volunteers are required for the shift) and click Done when complete. NOTE: By selecting “Done”, this does not save the information entered. The
 button must be selected to save the entire shift. NOTE: You can select more than one Position for a shift.
NOTE: When all positions have been filled (e.g. 5 Front Desk volunteers), volunteers can no longer sign up for the shift.
- Select the Volunteers field to schedule specific volunteers and click Done when complete. NOTE: You can filter and search for volunteers by Department and Site
 NOTE: You are not required to invite specific volunteers to a shift. By selecting a position and leaving the Volunteers field blank, any volunteer (assigned to the selected Department, Site or Position) can sign up for a shift. For example, if you indicated that you need 5 Front Desk volunteers for a particular day, then simply add 5 positions and do not invite specific volunteers for the shift.
- Enter a Description for the shift (e.g. specific duties required for the shift)
- Select the button
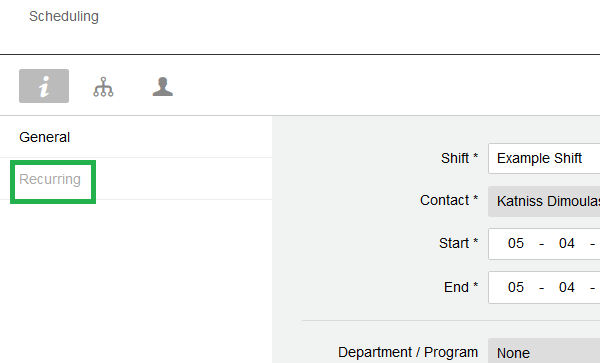
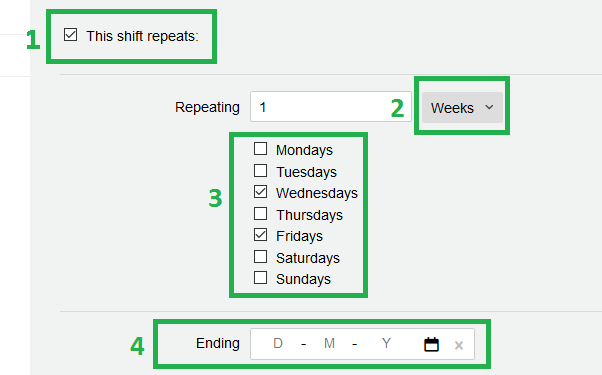
Q:How do I schedule a recurring shift?
See our FAQ post here on scheduling recurring shifts.
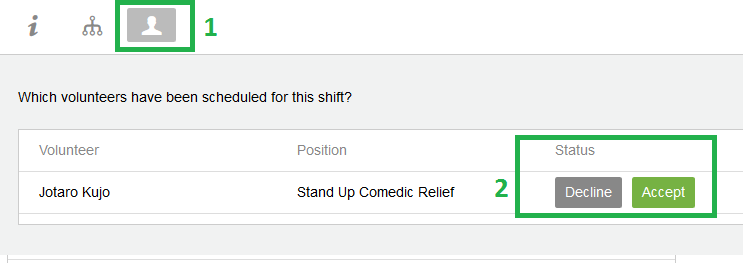
Q: Once a shift has been saved, how do I know when volunteers have accepted the shift?
A: After Saving a shift, two new tabs will appear when you select the saved shift: Available Positions and Scheduled Volunteers
Scheduled Volunteers
By selecting this tab, you can view which volunteers have accepted or declined a shift. You can Accept or Decline a shift on a volunteer’s behalf and Resend reminders prior to a shift.

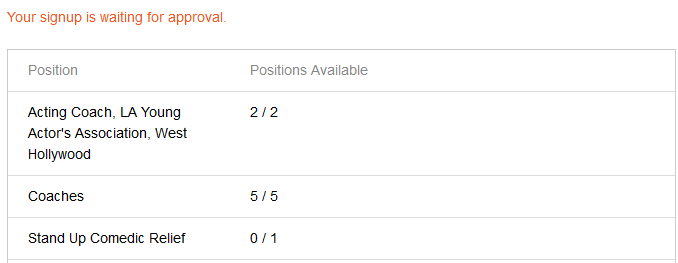
Available Positions
By selecting this tab, you can view how many volunteers are needed, how many volunteers have been scheduled, and how many volunteers are confirmed for the shift, organized by position.

Q: What happens when a volunteer declines a scheduled shift?
A. When a volunteer declines a shift they were scheduled for, their status will say “Volunteer Declined” in the Scheduled Volunteers tab.
By clicking Resend, volunteers will once again be given the opportunity to Accept or Decline the shift.
Q: Can volunteers decline shifts once they have accepted them?
A. Without an administrator or supervisor, volunteers cannot decline a shift once they have signed up for an open shift or accepted a scheduled shift. A supervisor or administrator can allow them to Decline or Accept a shift again by going into the Scheduled Volunteers tab and clicking Resend.
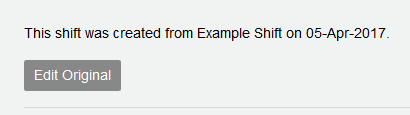
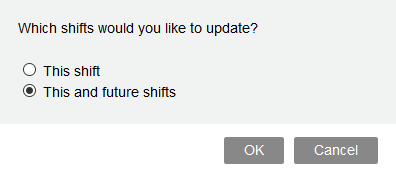
Q: Can I edit or modify an existing shift once it’s been saved?
A. Yes, simply select the shift and edit the desired fields. Select when done.
Q: Can volunteers sign up for a shift if they haven’t been invited to a specific shift?
Yes, you are not required to invite specific volunteers to a shift. By selecting a position and leaving the Volunteers field blank, any volunteer (assigned to the selected Department, Site or Position) can sign up for a shift. For example, if you indicated that you need 5 Front Desk volunteers for a particular day, then simply add 5 positions and do not invite specific volunteers for the shift.
NOTE: When all positions have been filled (e.g. 5 Front Desk volunteers), volunteers can no longer sign up for the shift.
Q: How do I filter the events on my schedule?
A: To find a specific shift or event, use the search bar or drop down menus at the top of the scheduling page. Choose to filter by Department or Site.

Q: What’s the difference between scheduling in Charity Republic versus Excel?
A: Overall, the scheduling features in Charity Republic are much more powerful compared to Excel. For instance:
- Excel is a spreadsheet that is not intended for scheduling;
- A coordinator can’t send email invitations via Excel, but you can via Charity Republic;
- Volunteers can access the schedule any time in real time in Charity Republic whereas they can’t in Excel;
- Volunteers can sign up or decline shifts in real time via Charity Republic
- Coordinators can set up recurring shifts in Charity Republic which is not possible in Excel;
- Coordinators can link positions to the schedule, with all of the position requirements captured in Charity Republic (that’s not possible in Excel);
- Availability for each volunteer is automatically integrated into scheduling (that’s not possible in Excel);
- Coordinators and volunteers are able to view multiple schedules in one place (e.g. by site, by department, by day, by week) in real time (again, not possible in Excel).


 The shift will also have a red colour in the calendar view while awaiting approval
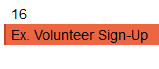
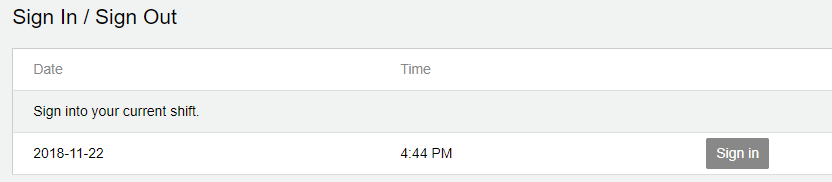
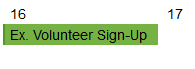 and the volunteer will see that they have been scheduled upon clicking the shift as indicated by the green text below