A. Set-up your Organization

Visit the main Organization tab (i.e. select your organization’s name along the left-hand side)  to set up your organization’s profile in Charity Republic.
• General:
– Select Type of organization (e.g. Charity, Non-profit)
– Select Volunteer Centre your organization is affiliated with
– Enter Charity or Non-profit registration number
– Include a general description of your organization. Note: This information will appear in volunteer opportunity posts.
• Upload your organization’s Logo
• Achievements: Add custom drop down achievements such as training programs (e.g. Orientation, AODA Training)
• Options: Select fields that can be edited or accessed by volunteers and/or supervisors. Assign access levels to Supervisors by Department of Site.
• Add Departments / Programs, Sites and Positions within your organization (along top)
B. Add Volunteers
Visit the Volunteers tab to view, add and invite volunteers to use Charity Republic. NOTE: See Tip at bottom for a quick way to upload your volunteers into Charity Republic.
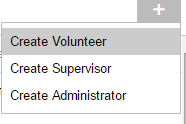
• To add volunteers, select the  symbol and select Create Volunteer
(Note: Add a Supervisor or Administrator here as well)
• If you want your volunteers to access Charity Republic, simply click the Save
and Invite  button and they will receive an email invitation to register. Otherwise, simply Save
  the volunteer’s profile.
• Create detailed volunteer profiles for each of your volunteers, including Contact information, Position, Employer, Language and Skill information. Plus, Attachments, Notes, Hour tracking and Achievements (e.g. police check, awards, training).
C. Post Volunteer Opportunities
Visit the Opportunities tab to post volunteer opportunities for your volunteers or to recruit new volunteers.
• Select the button to create a new opportunity
• Add a Description, Goals & Benefits, Qualifications and Training, Scheduling Requirements, and Required Skills
• Keep an opportunity as an internal post or use social sharing links (e.g. Facebook) or a web link to share volunteer opportunities

D. Schedule Shifts
Visit the Scheduling tab to schedule volunteers or have volunteers sign up for shifts.
• Schedule volunteers and view the schedule by Day, Week and Month
• To add a new shift, select the symbol
• Enter the name of the shift (e.g. Front Desk Volunteers) and related details
• Volunteers will receive an email message with shift information and they can
Accept or Decline the shift
• View Scheduled Volunteers  and whether they accepted or declined the shift
• Check Available Positions  to see how many volunteers are needed and how many volunteers are scheduled for the shift
E. Run Reports
• Visit the Reports tab (left-side)  and select one of our canned reports (we’re always up for report suggestions too!)
• When you’re done selecting the filters for a report, select the Generate Report button 
• View the HTML version or a report (i.e. view the report on our website) or choose to export the report to Excel
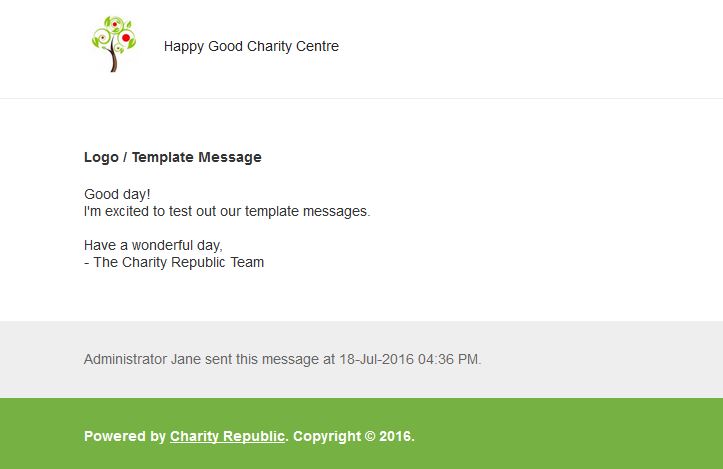
F. Communicate 
• Select the Mail icon (top toolbar) to communicate and send messages to your volunteers. If your volunteers have an email attatched their profile, they will recieve a copy of the message in their email account.
G. Notifications 
• Select the Bell icon (top toolbar) to view all notifications (e.g. birthdays, anniversaries, shift requests)
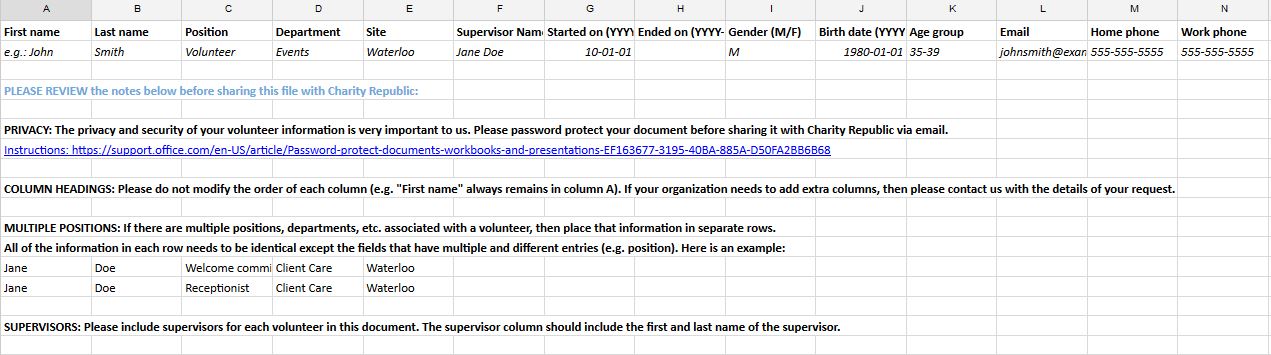
Tip: Upload your volunteers
Instead of adding volunteers manually one-by-one, we can upload a volunteer list for you (click here for the template > select File > Download as > Microsoft Excel).