If you’re a volunteer Administrator or Supervisor having issues with volunteers not signing out of their shifts, then this feature is for you. Volunteers using our Sign-In feature (more details here) will automatically be signed out after 4 hours (you set the time), for instance, and have the hours auto-calculated for them.
For more details on how to use this feature, please follow the steps below.
Set Up
First, set up the hour parameters via the Organization section. Click Setting. Set the time limit here, and Save.

Administrator / Supervisor Perspective
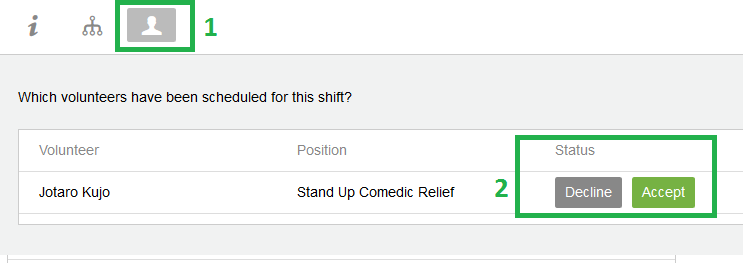
1.Click on the ![]() tab
tab
2.Go to desired volunteer and click Sign In. The Sign In button will become green and say ‘Sign Out’ to indicate that a volunteer has already signed in for a particular shift.
If the shift is an open shift with no specific volunteers invited to the shift, then the volunteer does not have to be scheduled for the shift to Sign In.

3.After a certain number of hours (e.g. 4 hours), the volunteer will automatically be signed out and have 4 hours created for them.
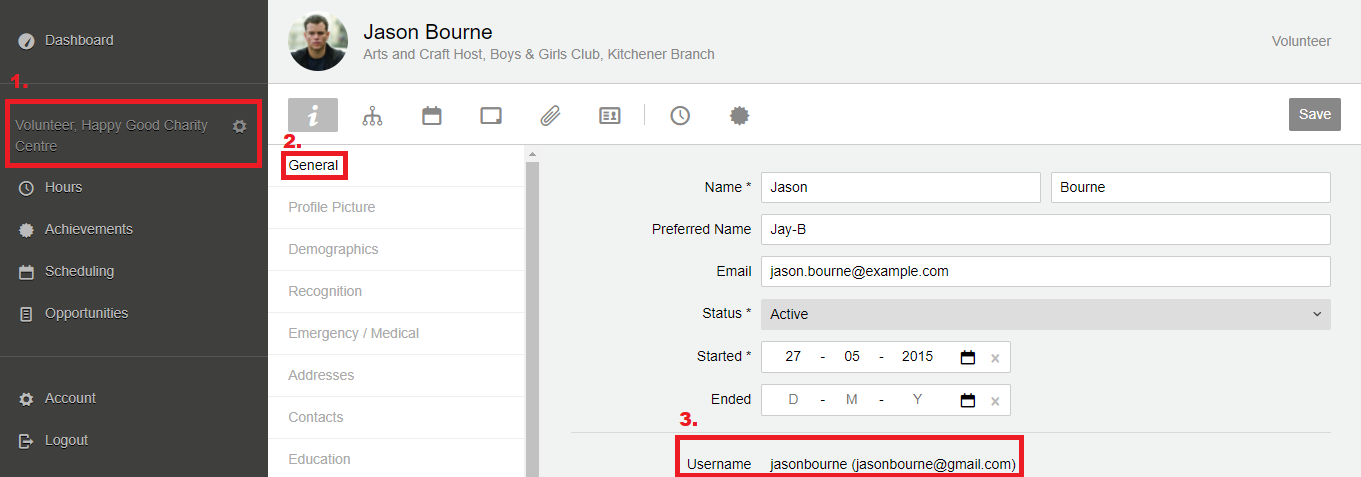
4.To locate the volunteer’s hours, select the desired volunteer and click on their Hours tab.
If you need to verify or edit the hours, please click on them.
Volunteer Perspective
Volunteers can also access this automated sign out feature by following these steps:
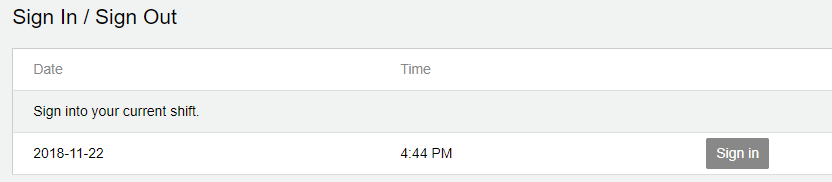
1.Once signed in, a volunteer’s dashboard will appear.
2.Scroll down to the Sign In / Sign Out area that allows a volunteer to Sign In for their shift. Click on the Sign In button to start tracking hours. The button should now become green and say ‘Sign Out’.
3.After a certain number of hours (e.g. 4 hours), the volunteer will automatically be signed out of their shift and have 4 hours created for them. The Sign In/Out button will also appear as grey and say ‘Sign In’ to indicate that the volunteer is now signed out of their shift.
4.Volunteers can access their hours by selecting the Hours tab in their profile or in the left-hand panel of the website.


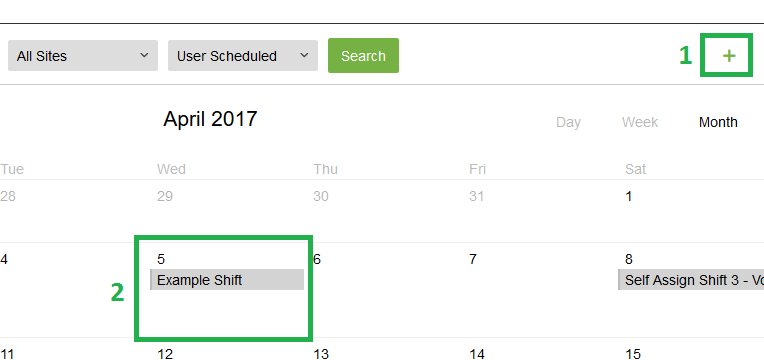
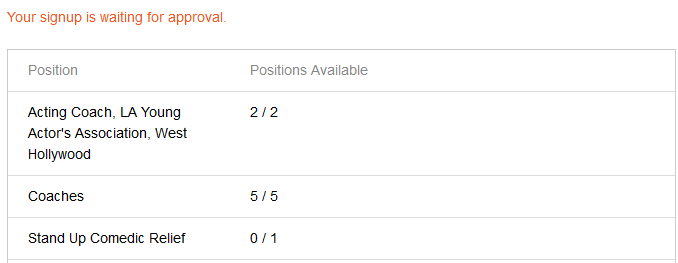 The shift will also have a red colour in the calendar view while awaiting approval
 and the volunteer will see that they have been scheduled upon clicking the shift as indicated by the green text below
